WordPress
There are a number of different ways to add the widget to a WordPress website.
If you are a developer with access you can follow the instructions below, but instead manually make changes to the theme where approriate.
The following example is designed for users with little to no experience with code, but a basic understanding of WordPress. If you are unsure about WordPress concepts such as plugins, please contact whomever developed your site and ask for advice.
1. Configure WordPress
The first step we need to do is to add some custom scripts which will load all the code for the widget. In order to do this without making changes to the code or theme we will install a plugin to help us.
Before installing new plugins to your WordPress website it is recommended that you back up your site! Not sure how to do this? Please check with whomever is responsible for maintaing / hosting your site.
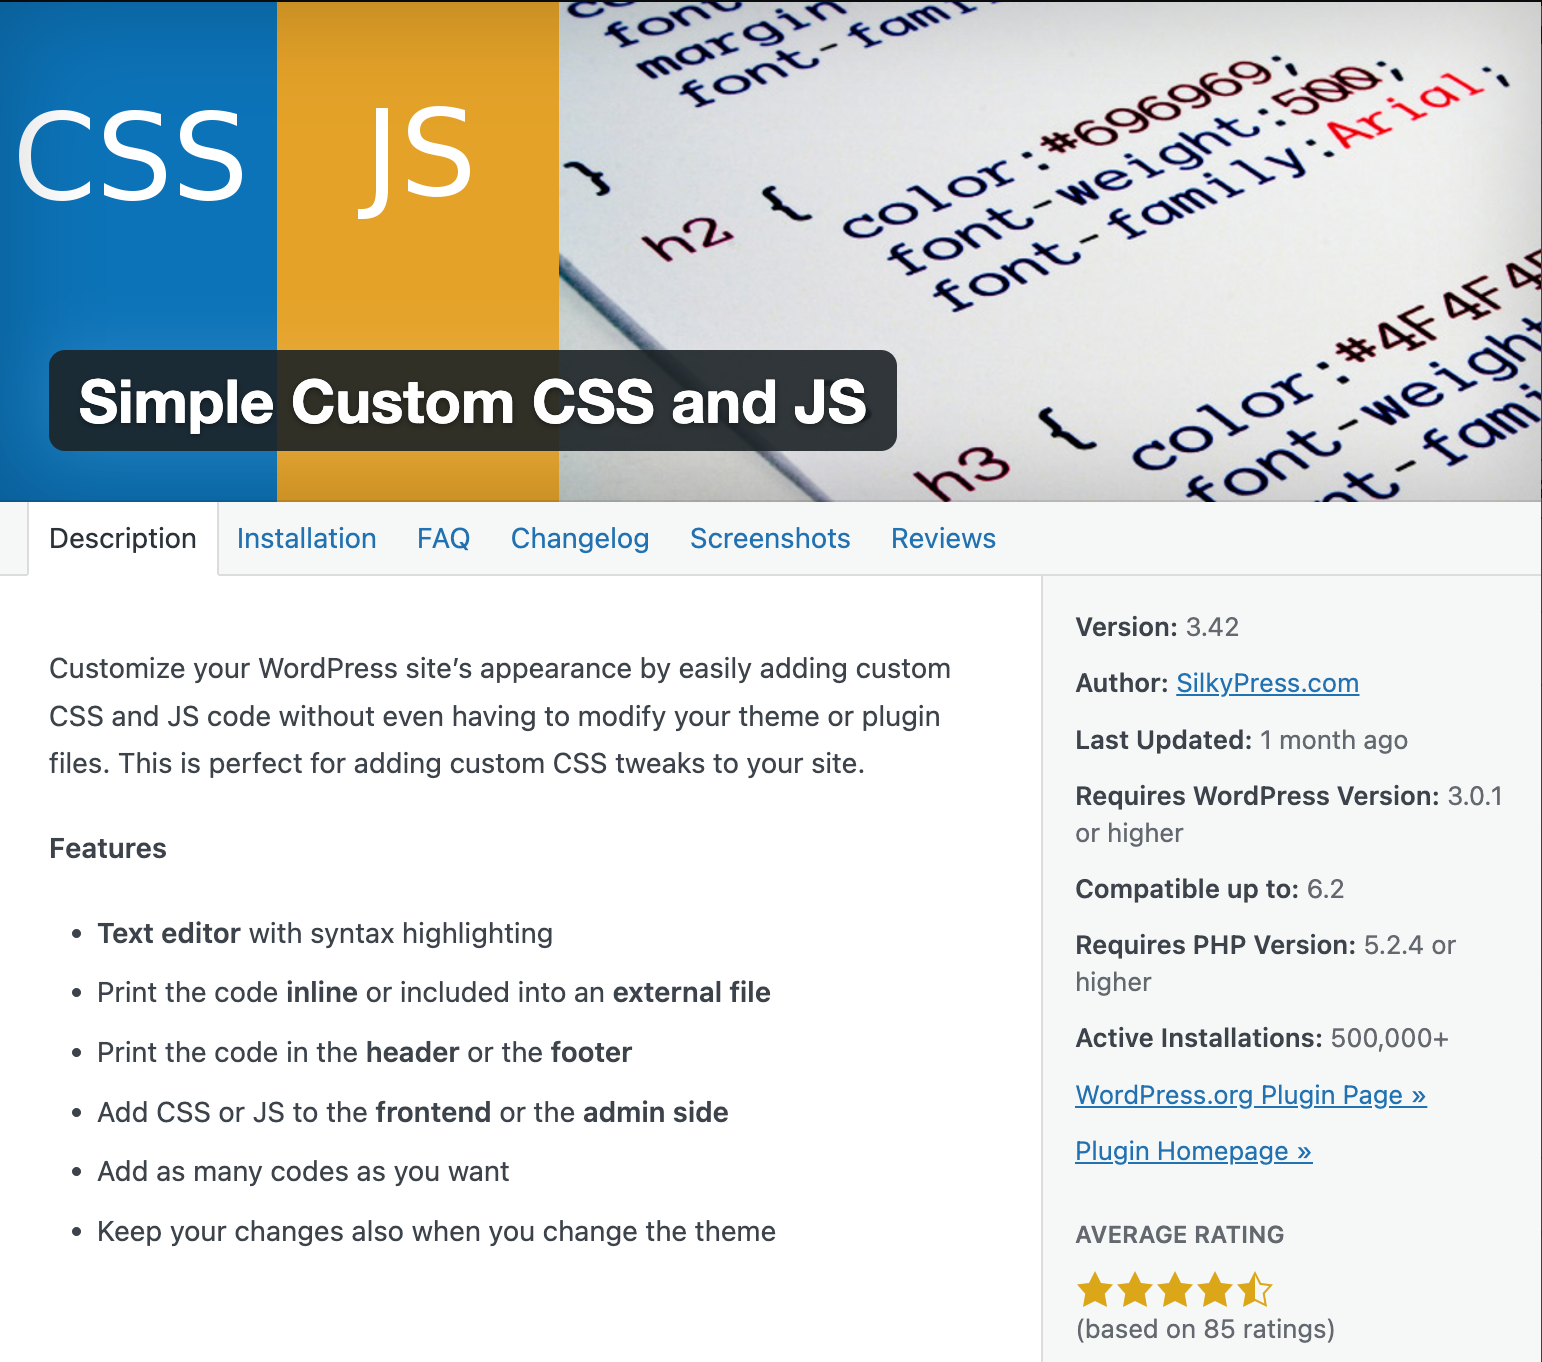
In the plugins section of WordPress search for 'Simple Custom CSS and JS'. When you find it the details page should look like this:

Activate the plugin
Go ahead, install and activate this plugin. Once installed navigate to the settings page and here we are going to add our code.
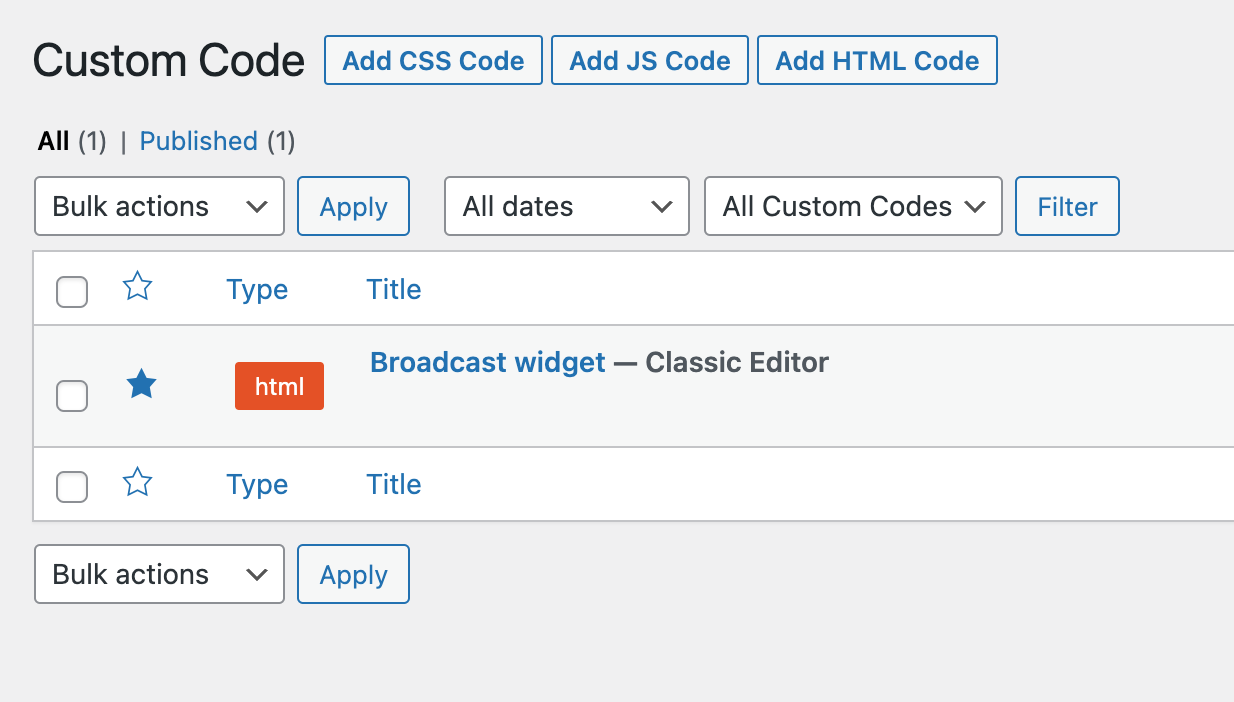
Select the button that says 'Add Html Code' to add a custom snippet of code:

Add the broadcast snippets
Now we are going to add the custom snippets we need to make the widget work with the following steps:
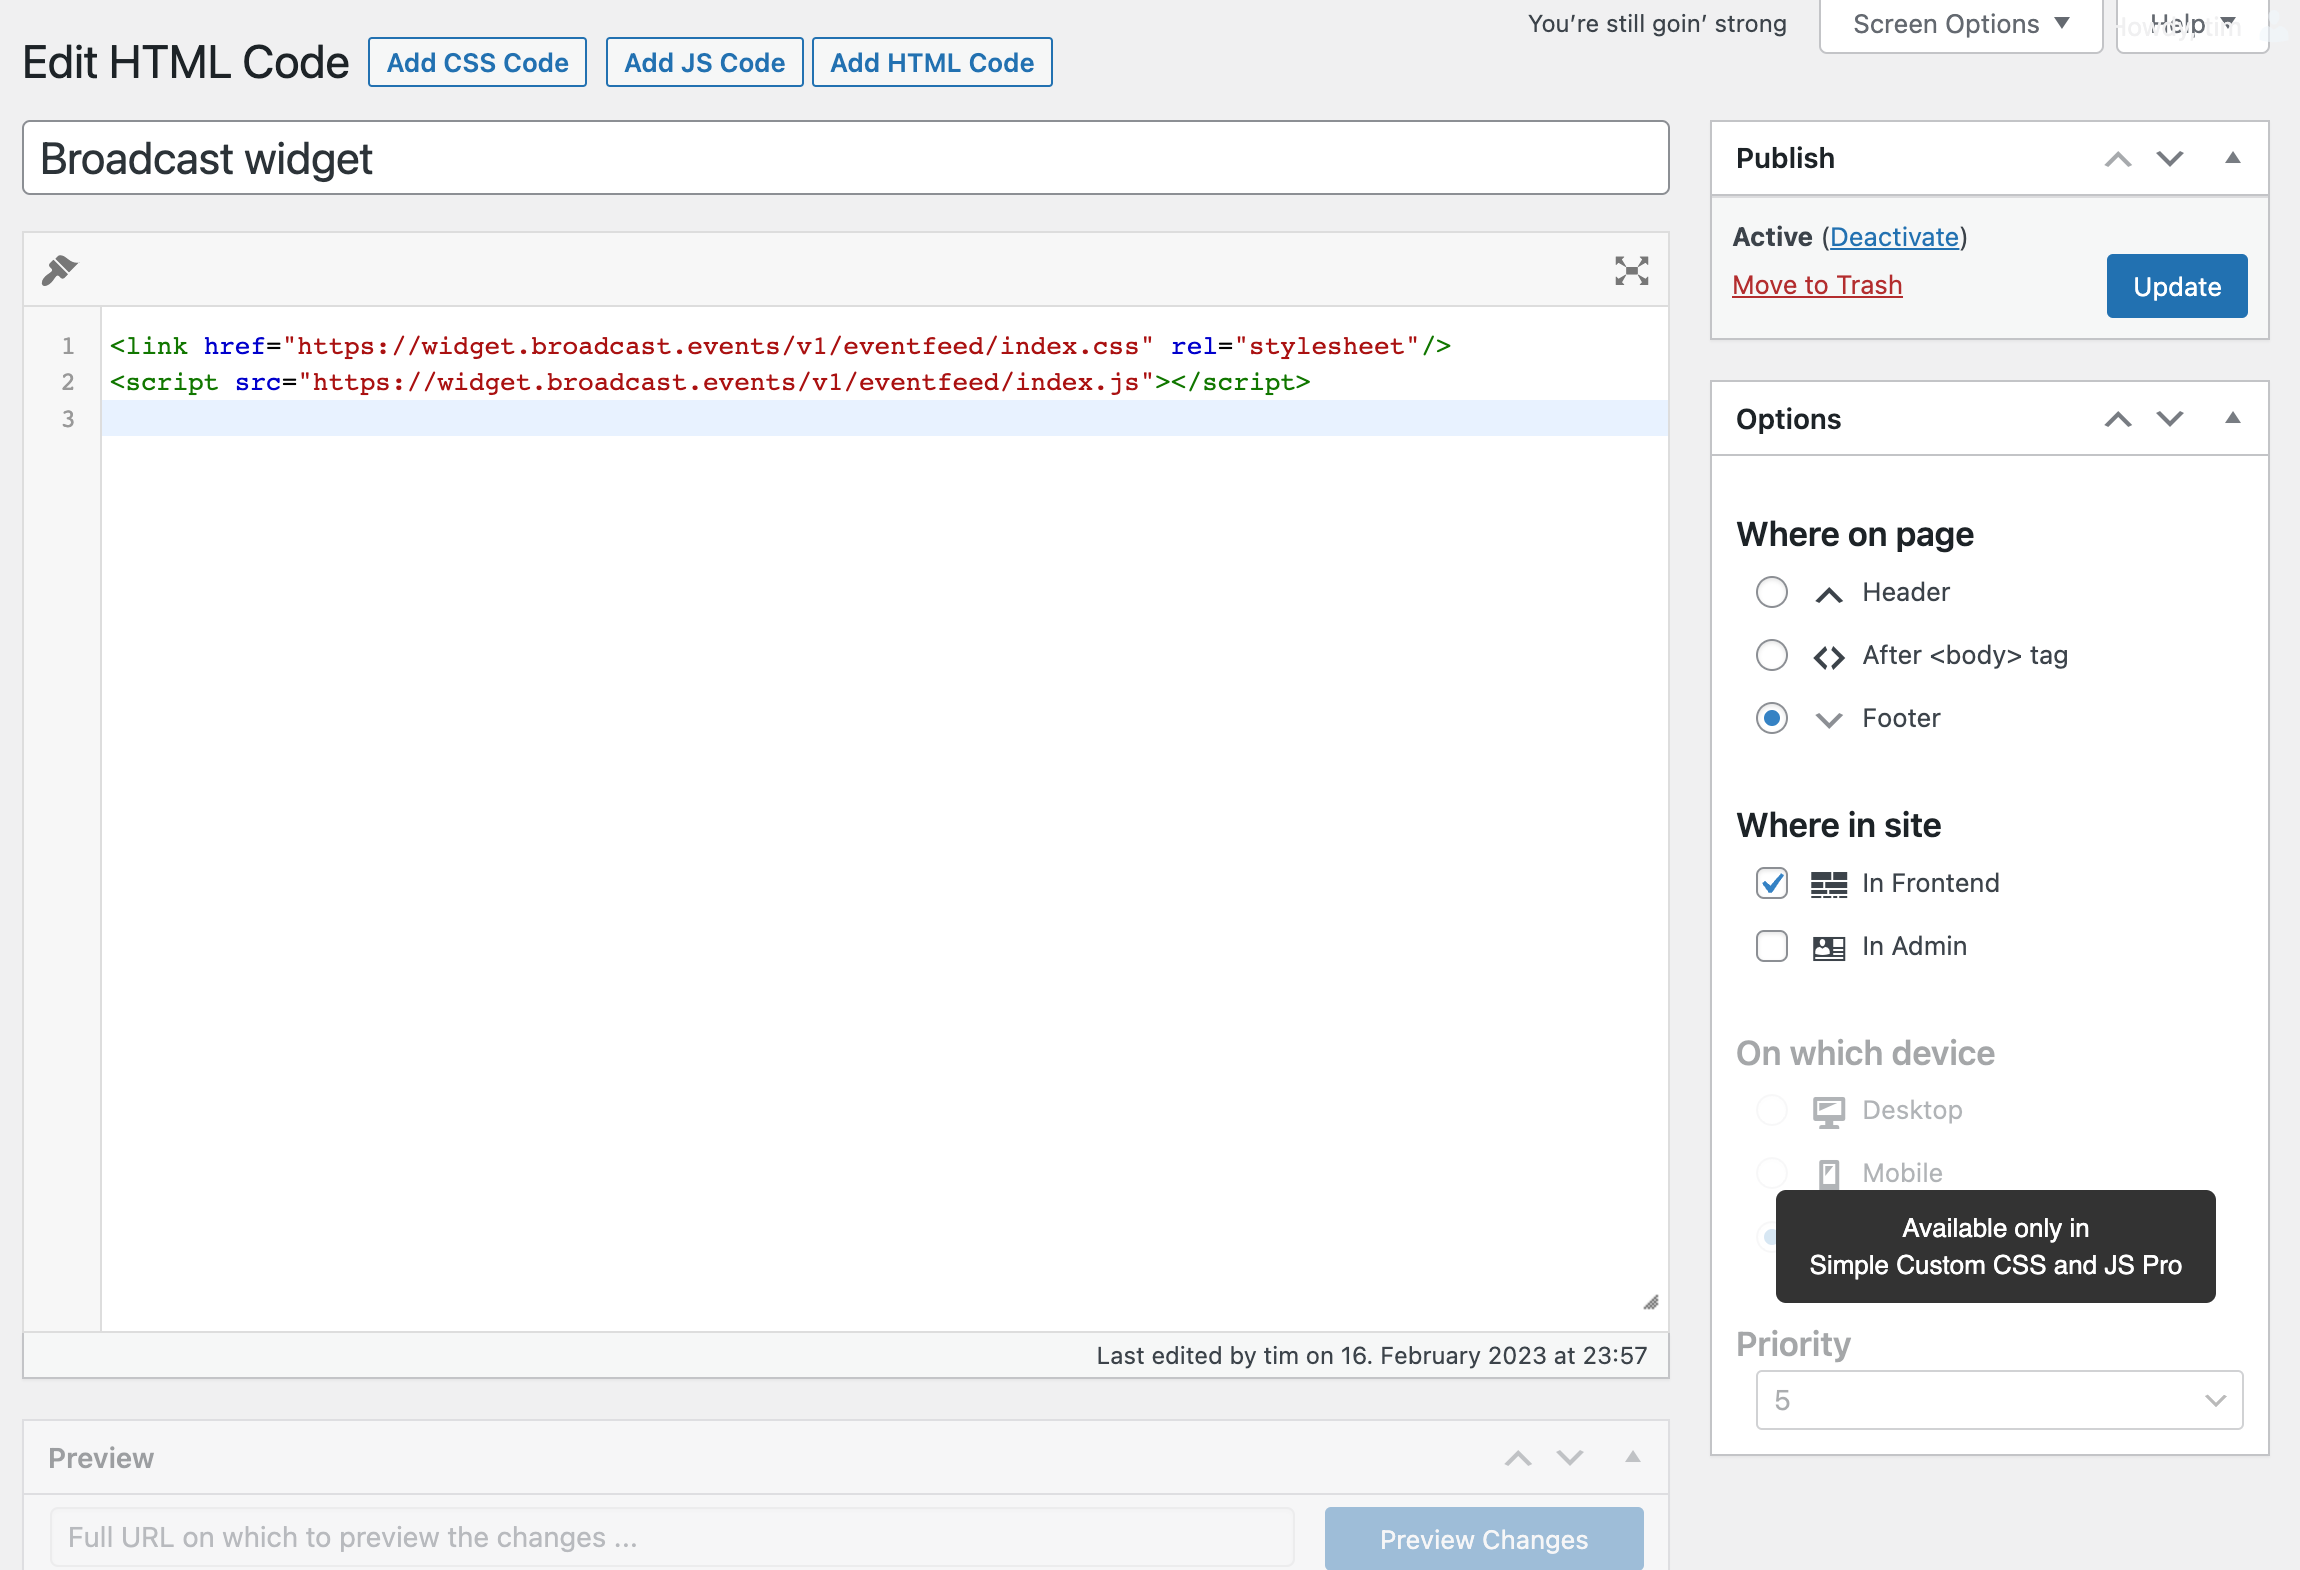
1. Give the widget a name.
2. Add the snippets.
Now we add the required CSS and Javascript files. Copy and paste the following code into the text area on the page:
<link href="https://widgets.broadcast.events/v2/listings/widget.css" rel="stylesheet" />
<script src="https://widgets.broadcast.events/v2/listings/widget.js" type="module"></script>
3. Set the postion of the snippets
On the right hand side of the page is an options panel. Make sure that under "Where on page" the option for "Footer" is selected.
When you are done the page should look something like this:

2. Add the widget code
Now we want to add our widget code to the page where we want to show our widget.
Wordpress has a number of different ways to do this, and it varies depending on the theme you are using.
In most cases though there will be an option to "add code" or "add script" to your page. In this area you need to do the following:
Add the widget code
Copy and paste this code into the field that allows custom code.
<div id="bc-widget" data-venue="YOUR-VENUE-ID" data-hidevenue="true" data-grid="true" data-recommended="false" data-key="" data-accentcolor="#dc566f"></div>
Add your unique Id
In order for the widget code to work correctly, you must substitute the text YOUR-VENUE-ID with the unique code supplied by Broadcast.
Previewing the widget.
The widget will not show in the preview mode of WordPress.
You will need to save your changes and hit the preview button in order to check out the working widget.
If you see your events then - Yay, good job! You can now look into the options for customising the widget under the "Widget Options" section of these docs.
Widget not showing, or having problems? Please contact us directly and we will do what we can to get you up and running asap!